Automated Profile Update Process
Note, you can also now use the Chrome Extension to publish and set profiles in sections. Documentation below. Follow the Python Script or Chrome Extension instructions below to automate the profile update process. After updating profiles, send instructors Section Ready notification email (template here).
Chrome Extension
Make sure the BP is created, set as a Blueprint, and DEV is imported
Remove learning material annotations from the BP (hopefully extension will be able to do this soon)
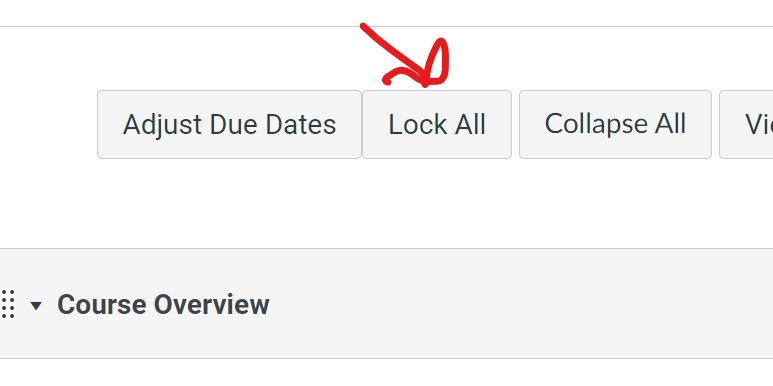
Go to the Modules page and click the "Lock All" button. This button will not appear if the course is not set as a BP.

Associate BP with sections
Install or update the Chrome Extension
Wait for Sync with sections to finish if it hasn't already
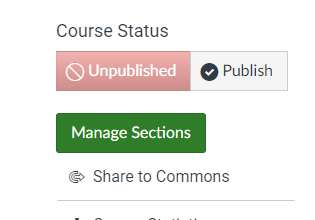
Go to settings page and click on the "Manage Sections" button. (This button will be disabled if this is not a blueprint)

You should see a dialog with all sections and buttons to Publish and Set Bios.

Clicking "Set Bios" will try to set bios for all courses.
You should see the "Name on Front Page" populate with the display name from the section.

If any names are not displayed, you may need to make a new page in Faculty Bios for that person by copying an existing page, renaming it to that person's full username, and modifying the image, profile, and display name on that page.
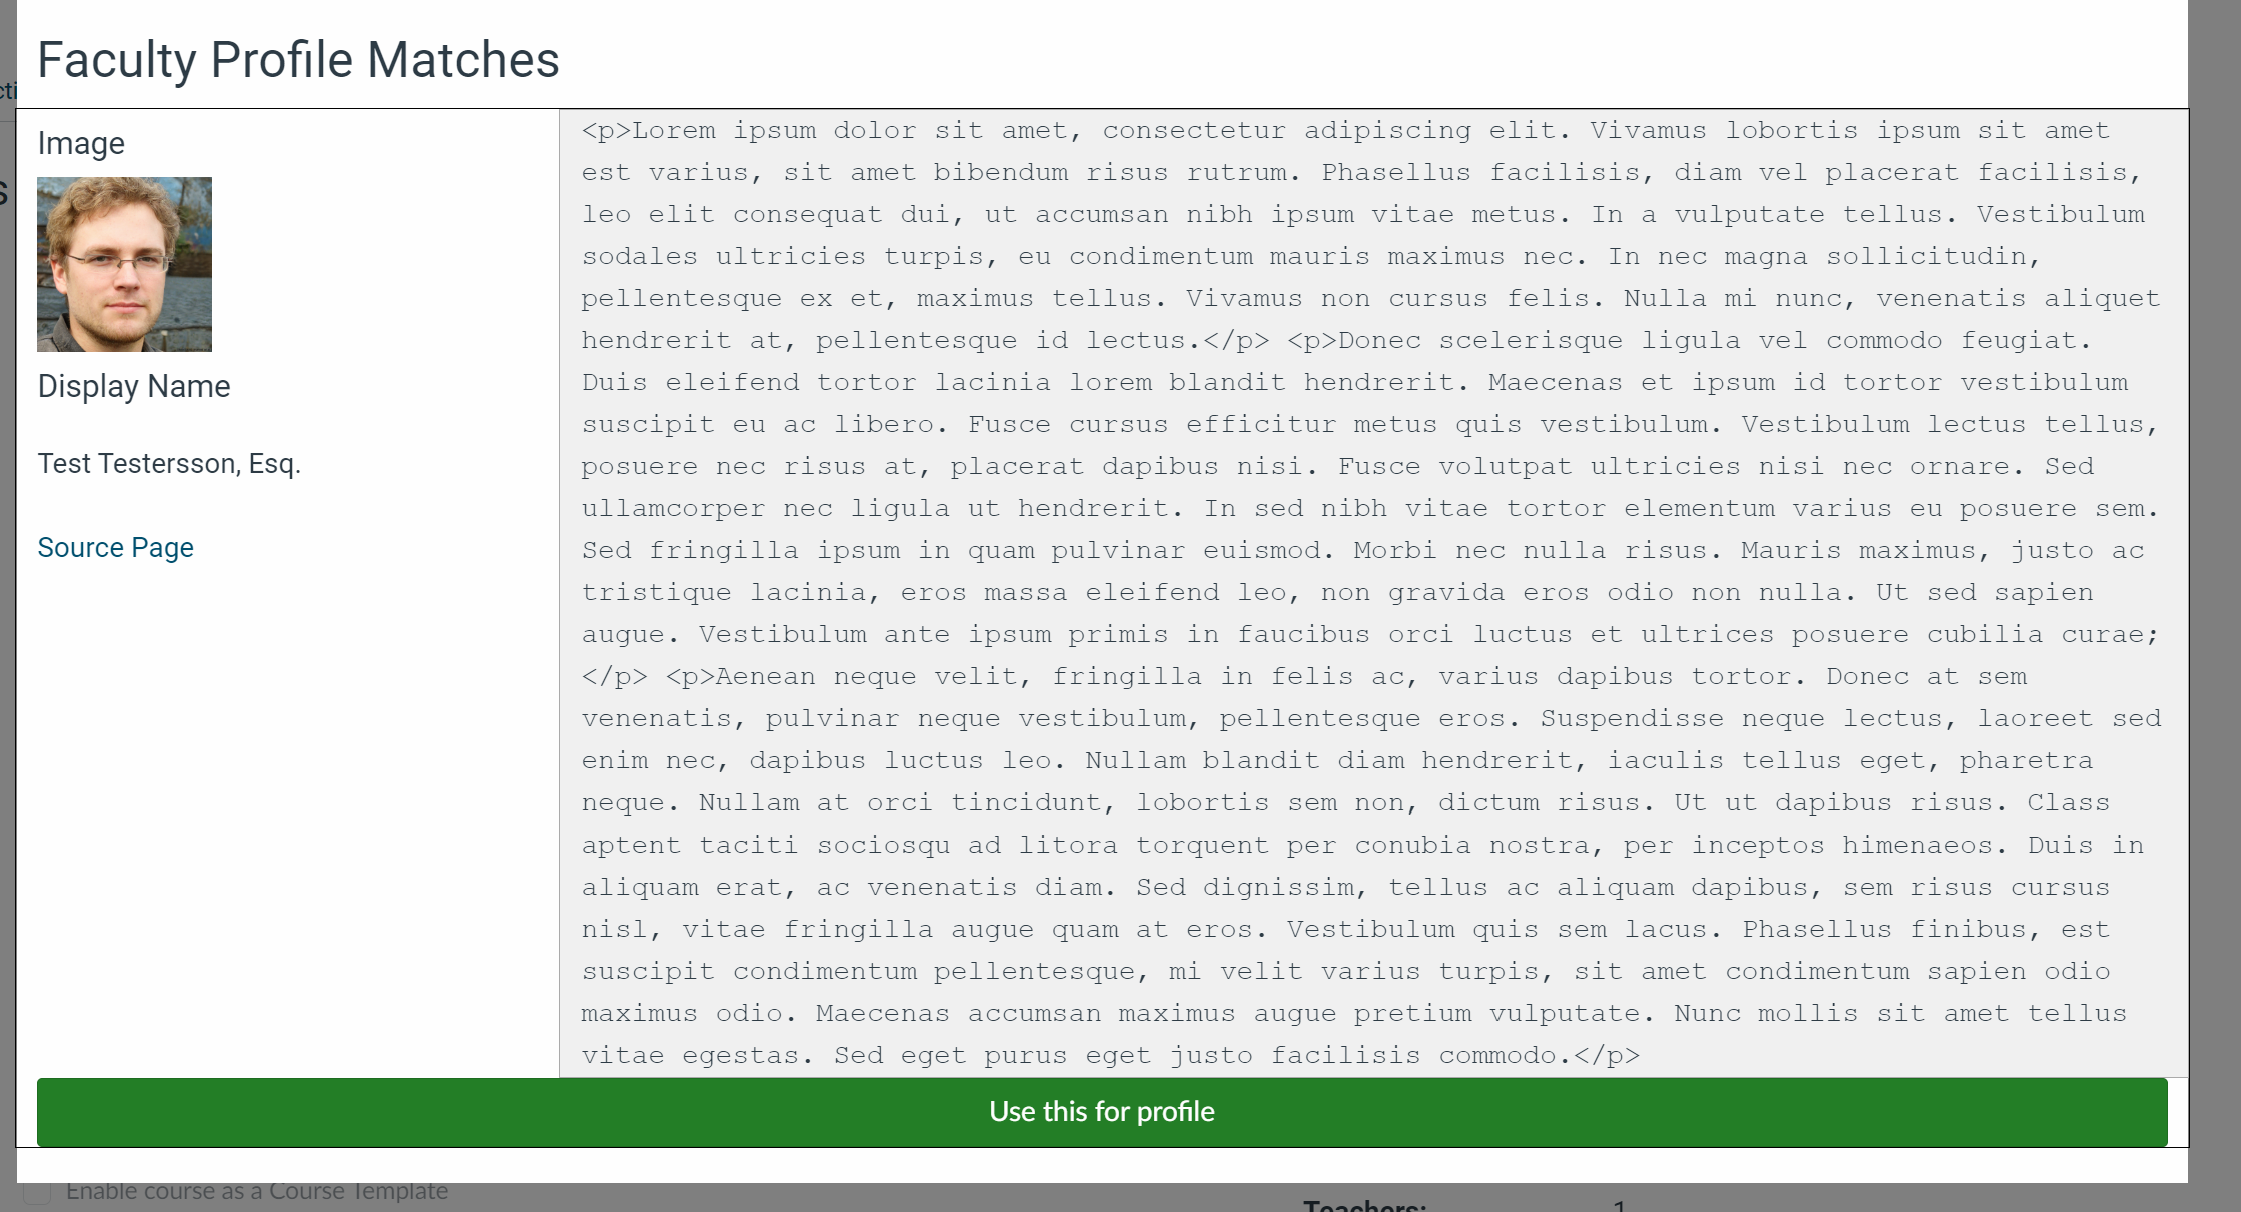
If the person is incorrect, open the details view and scroll down (if necessary) to profile matches. If the matching profile is there, select "Use This Profile".

If not, you may need to create a new faculty page for them.
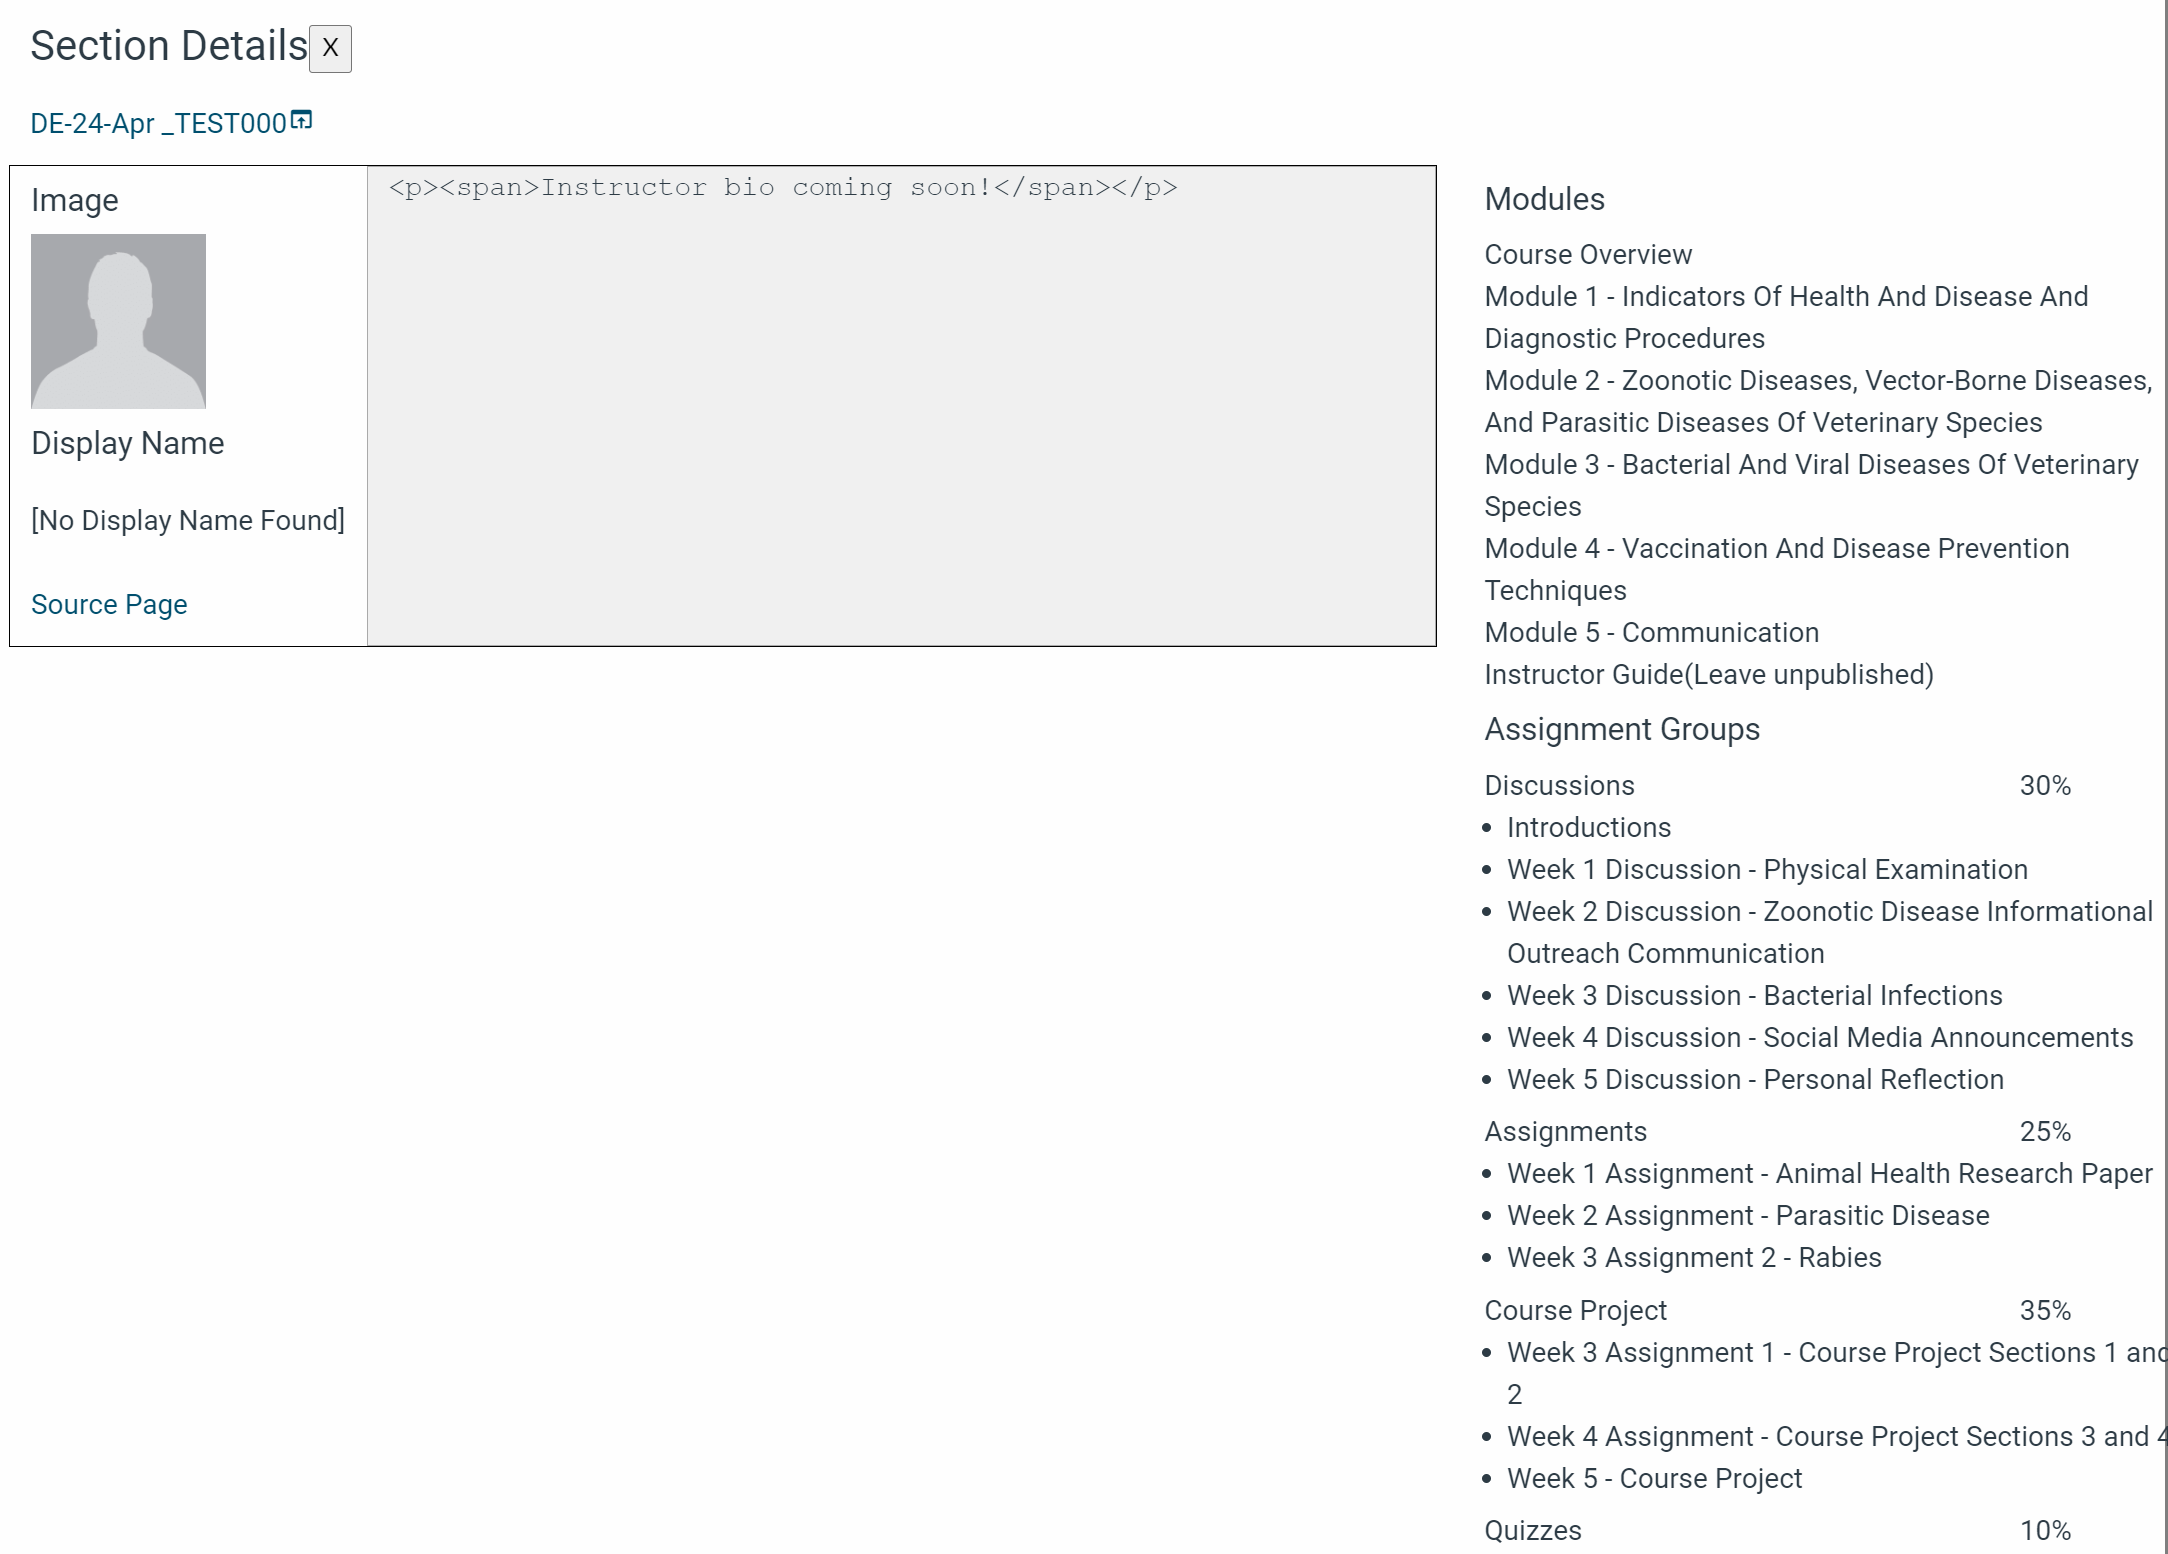
Check individual sections by clicking on the name of the section in sections list. You can also review section info with the "Details" view.

Python Script
LEGACY
Installation
Install Python 3.7 or later : https://www.python.org/downloads/
Make sure to click “Add to PATH and/or Add to environment variables” checkbox when installing
Download Profile Update Script folder and all contents from Github
Go to “Repositories” “Add” “Clone”
Select 'publish script' from the result
Click “Fetch origin” button to update the publish script
Get "constants.json" from Hallie and place in the same folder (Likely Documents/Github/publish-script)
Treat constants.json as a password. It’s important that we keep the constants.json as protected as possible as anyone with this file could make any changes to the canvas site that you could.
Open the constants.json file in notepad or another text editor, and make sure the “creator” and “term” values reflect your information and the term you’re currently working with, replacing names, role, and start as necessary.
Run "setup.py" from the same folder by double-clicking it
Updating
Open GitHub
Select publish script from repositories
Click the "fetch origin" button if it is present. If not, you are up-to-date
Running
Make sure the BP is created and associated with sections before starting.
Update to the latest version of "Publish Script"
The first time you are running the script for a new term, open your Profile Update Script folder and delete your copy of the “bios.json”
Double-click on publish.py A dialog will pop up asking you for the blueprint code. Type the BP's course code into the box (e.g. BP_COMM100)
Press OK
The script will now present a checkbox with different options for the copying process. Select those that apply (typically all but “publish” on the copying day, the Wednesday a week and a half before the term start, and then only “publish” on publish day, the Monday the week before term start)
First, select “Do you want to apply content fixes….”,
“Do you want to remove lm annotation…” and
“Do you want to lock blueprint module items” and click Run
Press Run and wait for the program to finish.
Associate BP courses with sections and wait for the sync process to finish. Often, errors that occur are a result of the profile page not being ready to be updated.
Once all courses have been associated:
If this is your first time running this term, or you have changed or added any profile pages in the Faculty Profile Pages course, select “Do you want to redownload…"
Select “Do you want to update profiles….”
Select Run and wait for the program to end.
A button to open the sections should appear.
When finished, the script will show a message box detailing some errors that may have occurred, if any, and naming any profiles it was unable to update.
Click the “open courses” button to spot check the live sections and ensure the copying process was successful (the modules are locked, the correct instructors have been added to the homepages, etc.) You may need to sync the BP to the live sections to push out any changes made by the script (such as locking the modules)
Check off on the course’s Trello card that the course has been copied, synced, and the instructor notified. Move the trello card to the correct list.
If there is a change needed in the Live section, make the change in the BP and DEV. Do not make a change in the live section.
Go to the BP. 1/ Make the change in the course.
Click on the blue tab and “Sync Changes”.